anyway to control the size of an image in the display stack?
Or, can another stack of some kind be used to control an image in the display stack?
Thx
Allen
anyway to control the size of an image in the display stack?
Or, can another stack of some kind be used to control an image in the display stack?
Thx
Allen
I haven’t worked with the Display stack very much, but it expands it’s width to fit the area it’s placed in. The image inside it is shown at the width of the Display stack itself (minus the border). So, if you want to reduce the size of Display stack itself (and the image within it), you will need to place it inside something else. Common Foundry stacks to do this are: Container, Margins, Columns, and Grid.
The top two on the documentation page are inside a two-column stack. Display Documentation
If you’re trying to reduce the size of the image inside of the Display stack (and not the whole Display stack area), then we’re going to need a better idea of what you’re trying to do before we can be of much help.
Hi DLH,
I am trying to control the size of the image itself w/in the Display stack. Controlling the size of the display is not what I’m after.
the Display stack states that if “fully” expands to the width of the “thing” it’s contained within but it doesn’t. There is some “hidden” border that it uses and I can’t find where to control that measurement.
there appears to be no way to actually control an image’s size and other aspects of it in many different types of stacks.
Stacks that are dedicated to showing images are one thing. Stacks that have images in them, like Display, are another type of stack which offers not real control over how the image is displayed.
It’s looking like RapidWeaver would have to be fundamentally altered to provide an Image API such that every stack that integrates with RW would inherit that API for images which would expose image sizing and other HTML options. Another words, RW would have to expose the full HTML capability of controlling an image and how it’s displayed through it’s GUI - some how. It might be there… if you want to hack code. I don’t want to hack HTML code at this time…
Thx for the help, though.
Allen
Evening Allen — I have to be up super early tomorrow but will respond to your post first thing when I get into the office in the morning, as it is likely to be a wordy response and will need some visual aids.
Thx Adam, no worries. I’m not in a hurry. I appreciate your help, though. 
Are you trying to resize an image in RW? This can be done in an image stack, but not the image drop well that Display uses if Topper Type is set to Image. You could set it Drop Zone and use an image stack.
It’s still much better to crop/resize/optimize images outside of RW. Were you looking to do the image manipulation in RW?
I’m not seeing this. If I drop a Display stack in a Container with a max width of 600px, the width of the Display stack on the page is 600px wide. There is a drop shadow outside of that area, if enabled. If changed to 400px, and again the Display area is precisely 400px wide.
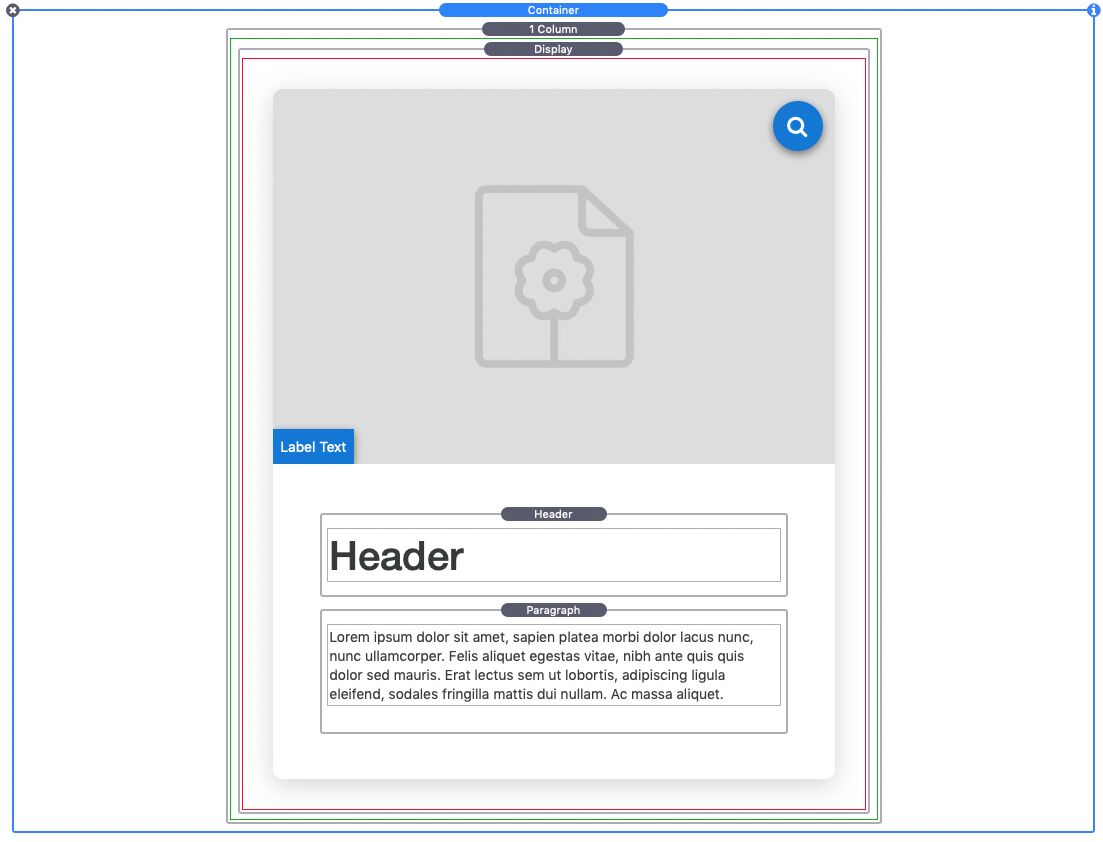
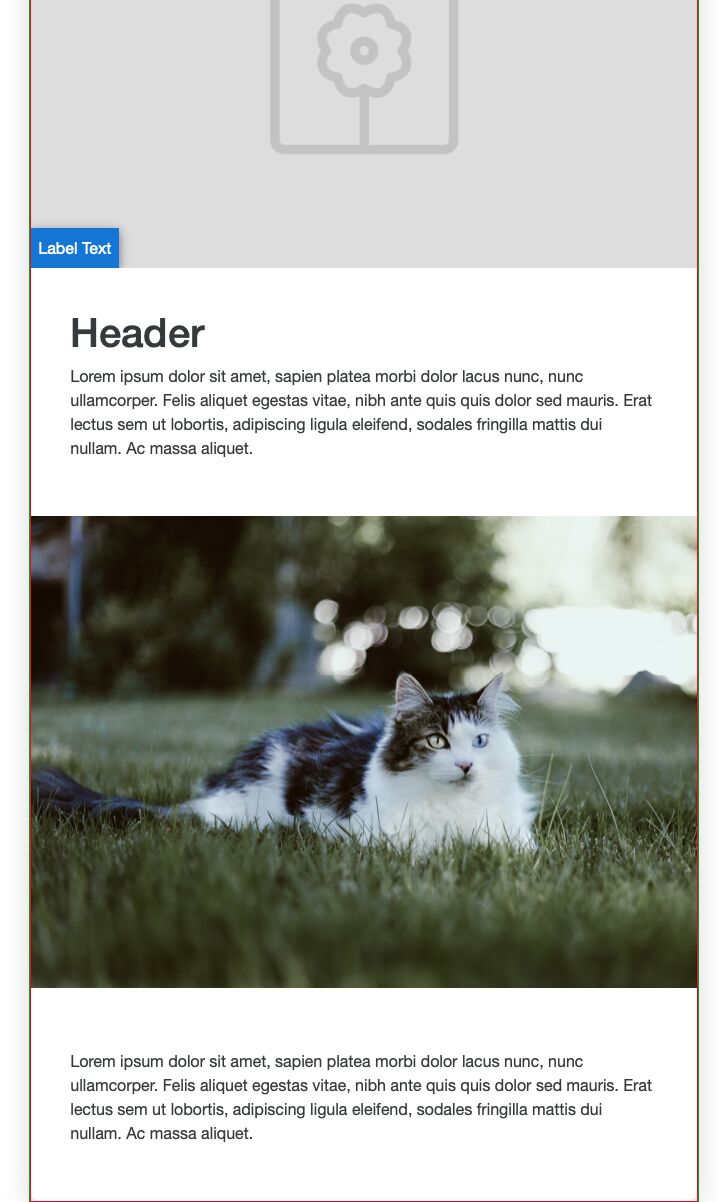
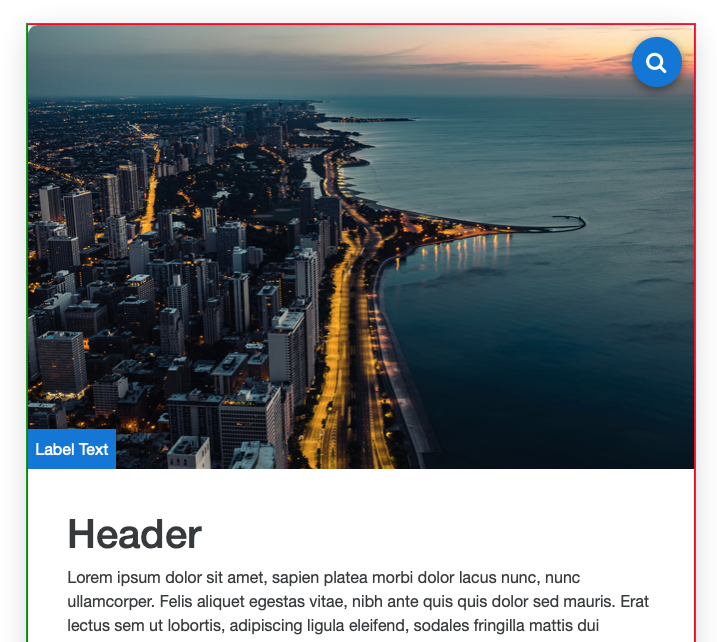
I want to start by touching on this part first, as what you’re saying is not true unfortunately. If you take a look at the screenshots below you’ll see I’ve put a Display stack inside a normal 1 Column stack that comes with the Stacks plugin. I’ve given both a border color so we can see the outside edge of both stacks.
This is a view from Edit Mode in RapidWeaver. You’ll see the 1Column stack that the Display stack has been placed inside of has a green border and the Display stack itself has a red border:
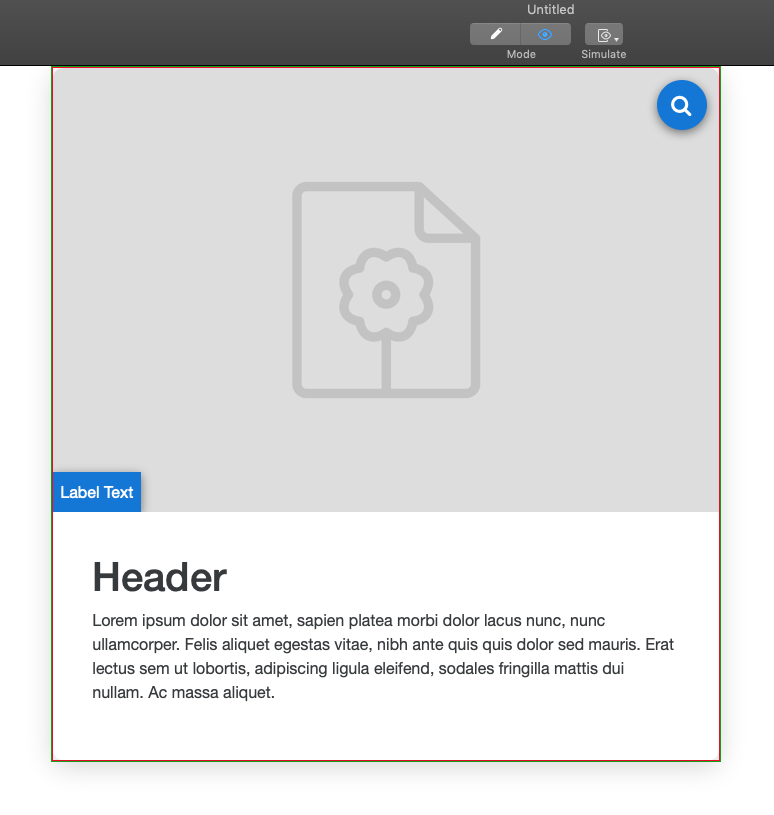
In Preview Mode you’ll notice that the two border abut, as the Display stack expands its width the be as wide as the containing stack it is placed inside of:
With that out of the way let’s look at this…
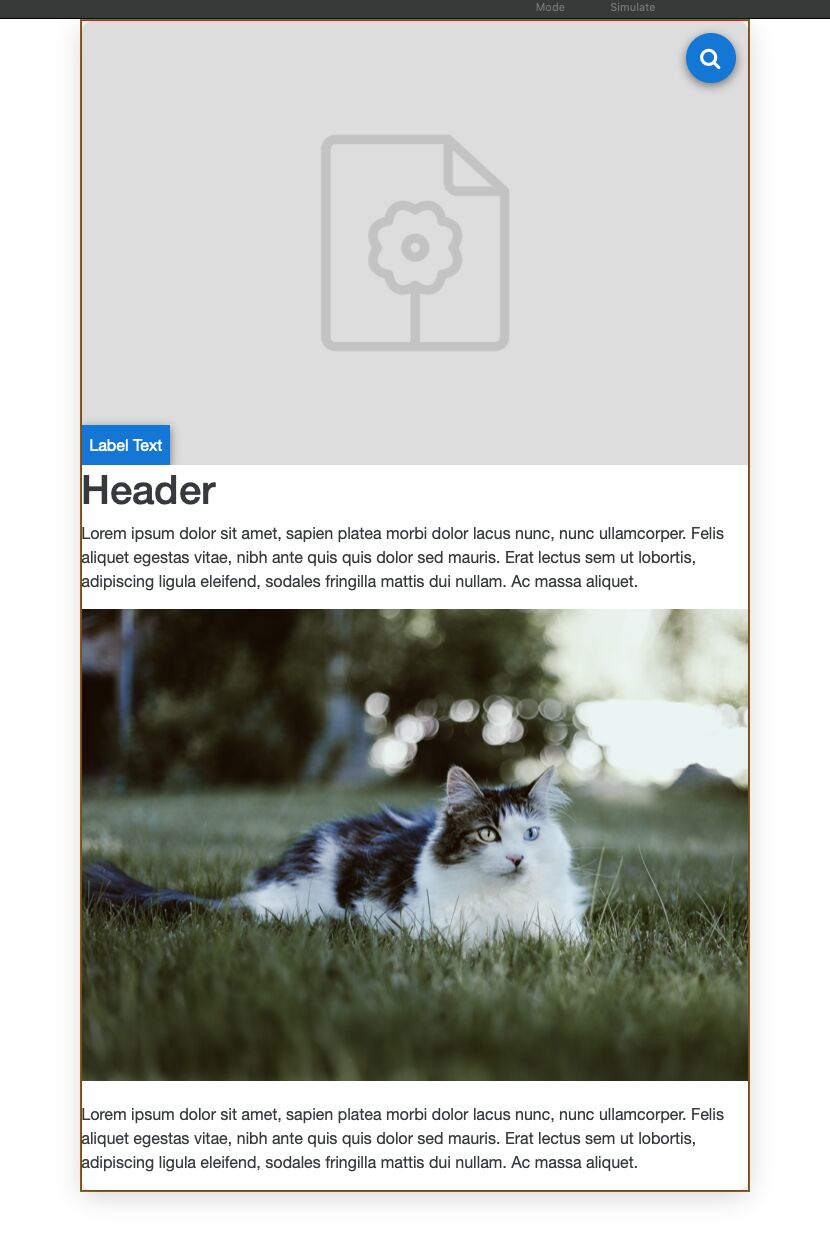
At first I thought you meant the image topper, which in my screenshots above is the grey flower filler image. But the more I thought about it I suspect you’re talking about putting an image into the contents of the Display stack, correct? If not please let me know… I’m going to move ahead here though under my above assumption.
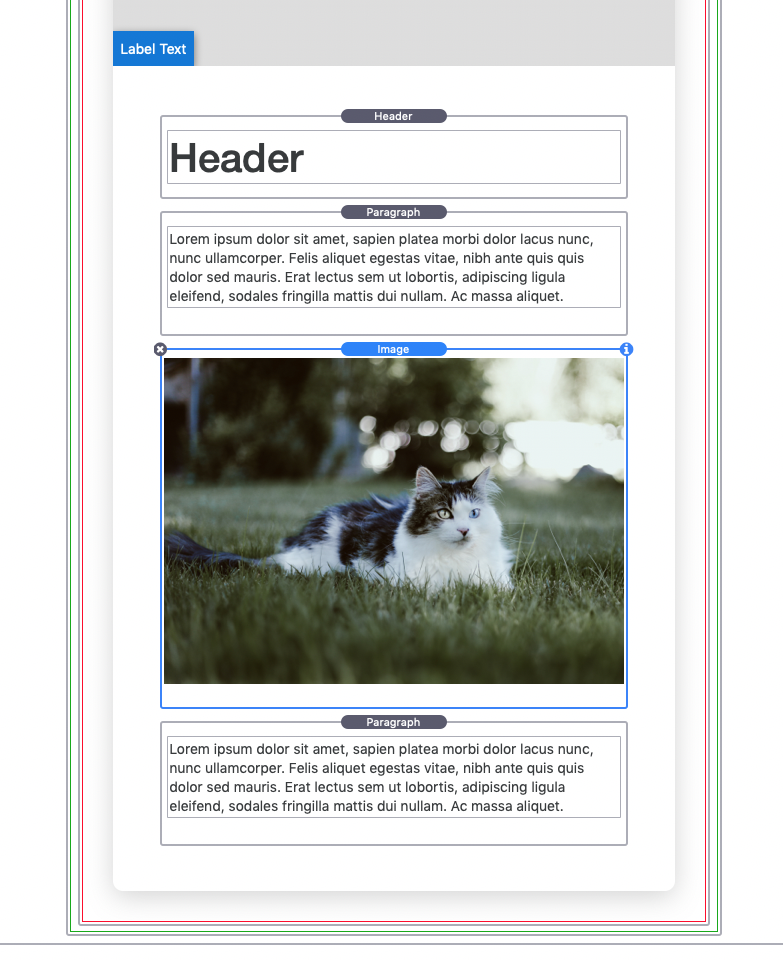
If you’re placing an image inside the content are of the display stack, as seen in any next screenshot, you’ll get something like this:
Edit Mode:
Preview Mode:
In that case, by default the image won’t go to the edge of the content area… this however is not what I was referring to in the tutorial when I say it will fill out the stack it is placed within. In that case I was referring to what I explained above earlier.
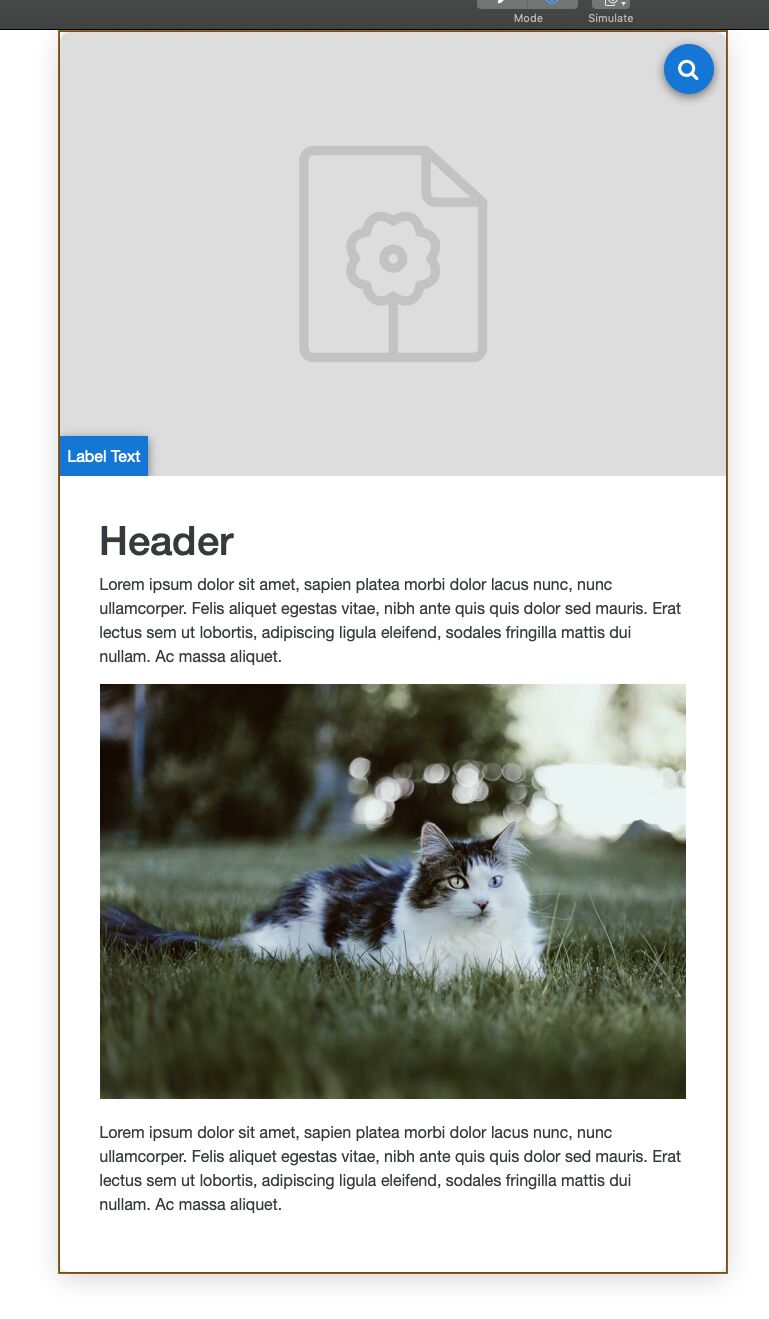
With that said though we can make this image placed in the content area go edge-to-edge inside of the Display stack by adjusting the Padding values inside of the Display stack, like so:
If you sent the content area’s padding to 0px the contents will then be able to go the full width of the content area in the stack:

You could then add Margins stacks around things like the paragraph and header stacks to give them breathing room, like so:
So, all of that to say that the Display stack does indeed allow you to do these things.
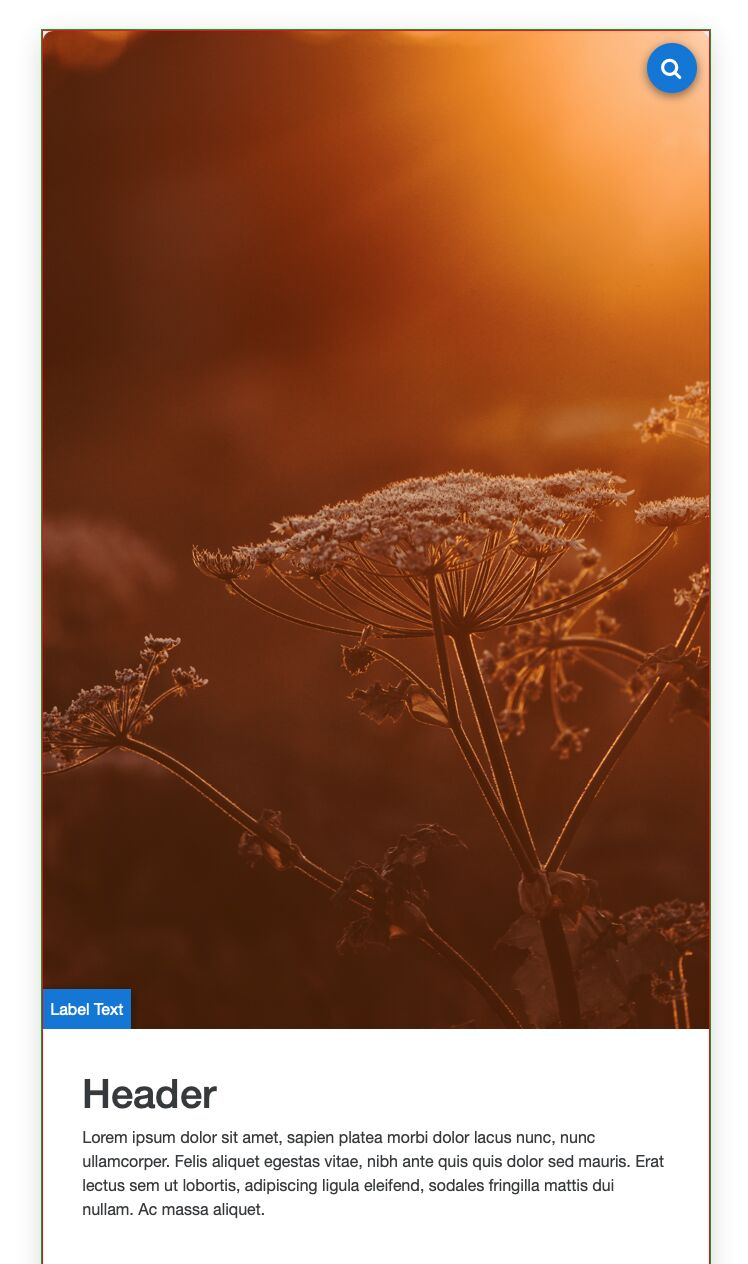
If you’re referring to the Display stack’s Topper Image, then that too is easy as well… The Topper Image always goes edge to edge and it adjusts its height based on the image you insert. Some examples:
This is why I assume you’re not talking about the Topper Image. If you are though, please say and give an example.
Anyway, as you notice in all of the screenshots I’ve left the borders on (the green and red outlines) to show the Display does indeed expand to filling its containing stacks.
Hope this helps.
Thank you !!!
I’m reviewing all that you’ve said. It will take me a little while to process it but I"m on it!
Alright, I have reviewed you tutorial in this reply. It’s very good!! Thank you.
Actually, I am referring to the Topper image. Never thought of actually adding an image to the Display but I"ll remember this trick to get it to go edge to edge. Neat trick!!
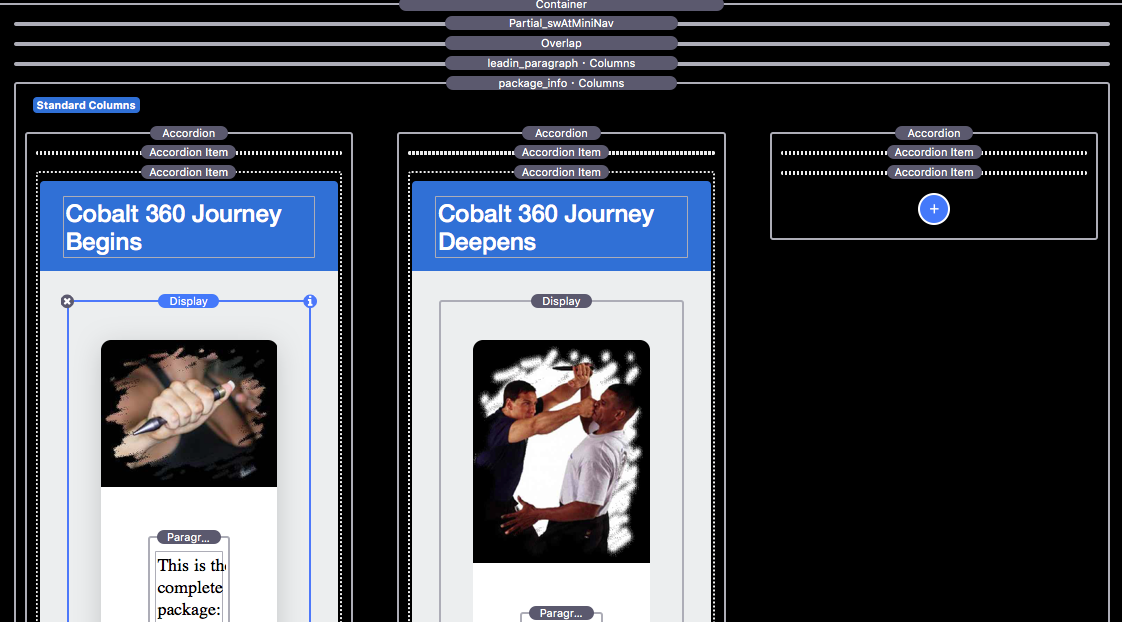
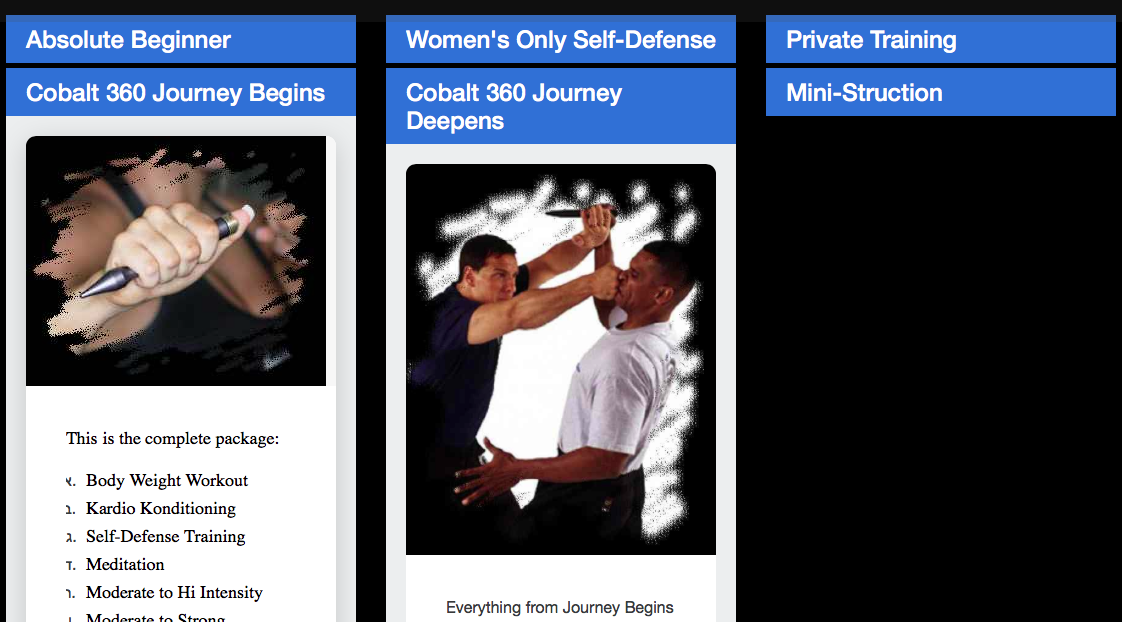
Here’s my Topper in Edit mode:
Here’s my image in Preview mode;
You’ll notice in preview mode that the Topper image has a gap between it and the edge of the Display but in Edit Mode, it fills the Display.
I"m using RW8.3 (beta)
However, I included a 2nd Display with another image that correctly fills both the Edit Mode and Preview Mode Displays.
Is there something I’m missing?? Or perhaps my image is simply not big enough?
Allen
You’re using two different size images. Make your images the same size. As I explained here…
…the topper image’s height is based on the height of your image. If you want them to be the same size you have to use the same size image.
I also think the first image is not large enough. I don’t believe that Display will resize the Topper image beyond 100%. I think the first image is not wide enough to fully fill the Display area at 100%. Try a larger image or resize the image with OS X Preview to be larger.